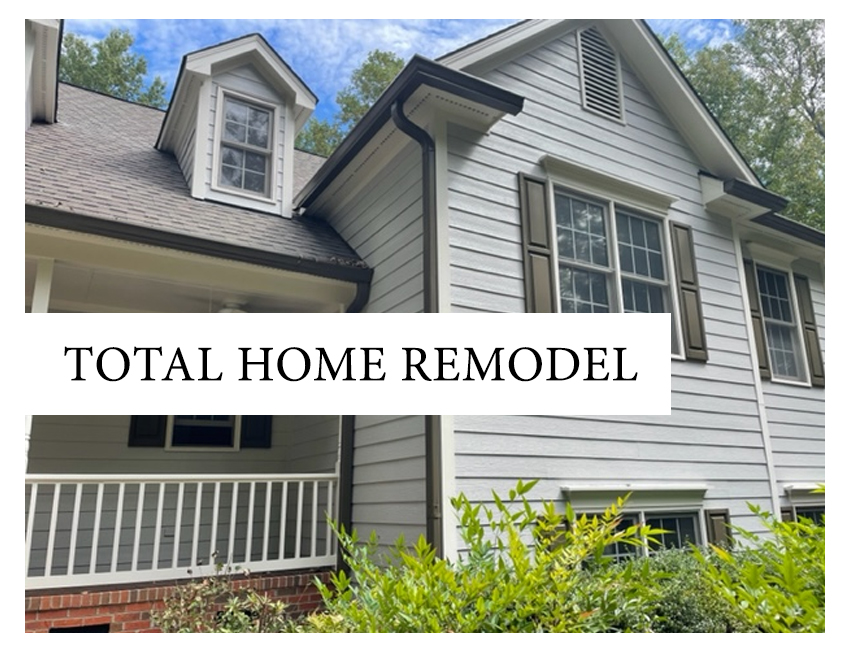
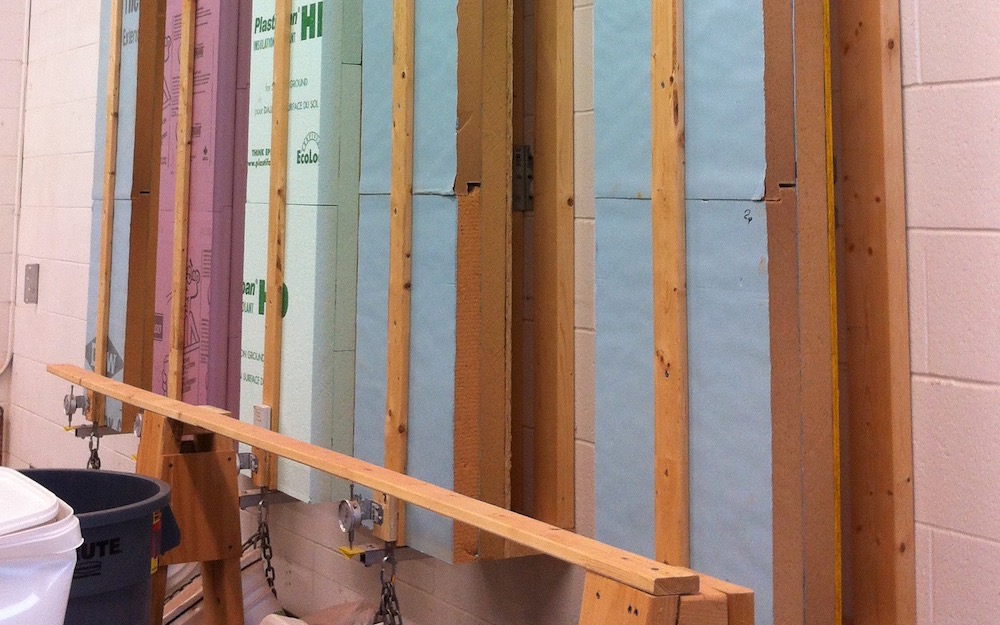
Maximizing Wall Performance: Why Continuous Exterior Insulation Matters If you want to reduce the effectiveness of your wall insulation, there are plenty of ways to do it—some more common than you'd expect. Poor installation, uneven distribution, or skipping insulation altogether can all degrade performance. However, one of the most overlooked culprits is thermal bridging, especially when using highly conductive materials like steel or even standard wood framing. Let’s take a typical scenario: You construct a 2×6 wood-framed wall with studs spaced 16 inches on center and install R-19 fiberglass batt insulation in the cavities. The wall is finished with drywall on the interior and sheathing with cladding on the exterior. Sounds like an R-19 wall, right? Not quite. When you account for the thermal bridging through wood studs and other framing components—like top and bottom plates, corners, and rough openings—the actual effective R-value drops significantly. In fact, that wall performs at about R-15.8, a 17% reduction in thermal resistance from the labeled value. And with more framing, the efficiency drops even lower. To combat this, modern building science recommends continuous exterior insulation (CI)—an uninterrupted layer of insulation installed on the outside of the wall framing. When applied correctly, CI dramatically reduces thermal bridging and boosts energy performance. For example, instead of placing R-19 insulation in the wall cavities, placing R-19 continuous insulation on the exterior can raise the wall’s effective R-value to R-22.9. That’s a 21% improvement over the labeled R-value and a 45% improvement compared to the framed wall without CI. Incorporating continuous insulation: Improves overall energy efficiency Reduces heating and cooling loads Enhances comfort by minimizing hot/cold spots Contributes to better moisture control and durability What got me thinking about this topic was a building under construction near the Energy Vanguard office. The lead photo above shows a closeup of part of the wall. You can see the blue extruded polystyrene (XPS) rigid foam insulation. You also can see the vertical metal strips every 16 inches apart. Those are called z-girts. The photo above shows what the z-girts look like before the insulation goes in, and the diagram below shows the whole assembly. In both photos above, it’s a continuous piece of galvanized steel from outside to inside. That makes it a superhighway for heat transfer. So, yeah, congrats on the idea to put in exterior insulation, but they get an F on the attachment system because it kills the thermal performance. Diagram of a verical z girt [From RDH Building Science report; link below] As you’ll see below, vertical metal z-girts are the worst way to attach exterior insulation. The exterior insulation will provide only 20 to 40 percent of the thermal performance of the insulation. That’s the word from RDH Building Science, an engineering firm based in Canada but with offices in several cities in the US, too. You can find the link to download their paper at the bottom of this article. Installing the z-girts horizontally gives you a bit of improvement, but it still has a thermal efficiency of only 30-50 percent. Using crossing z-girts, where you do one layer vertical and the other horizontal, is another step in the right direction, with an efficiency of 40-60 percent. Going with fiberglass or other nonmetallic materials for the girts gives you a bigger boost. A second way to attach exterior insulation is with a clip-and-rail system. This reduces the contact at the wall because the clips don’t run the whole length of the rails. Also, the clips, rails, or both can be made of fiberglass or other nonconductive materials. Or they can be made of less conductive stainless steel. Clip-and-rail attachment system for exterior insulation before insulation is installed [Photo from RDH Building Science report; link below] Depending on which type of clip-and-rail system you choose, the thermal efficiency could be between 40 and 90 percent according to RDH. Using long screws is probably the most common way exterior insulation is attached to walls in new home construction. The screws go into wood strapping, girts, or hat channels on the outside, then all the way through the insulation, and then into the structure. The photo below is from the RDH report and shows how that system works with wood strapping and three layers of mineral wool insulation on the exterior. Attaching exterior insulation with long screws [Photo from RDH Building Science report; link below] One question you may have is, Will those long screws be able to hold up the insulation and whatever cladding you install over the insulation? Joe Lstiburek faced this question in 1981 when he was building a house with exterior insulation in Ontario. They did some testing to see if this system would be able to support the wood siding. It worked. Building science labs are still testing various configurations and attachment systems. The photo below shows a test of long screws through two layers of 2 inch thick rigid foam 8 feet high. Hanging from the bottom of each is a bucket of rocks. A deflection gauge measures how much the weight pulls it down. The answer is that if you do it right, it works. Rigid foam insulation being tested for attachment with long screws Now, the screws aren’t free of thermal penalties. They’re made of metal and thus conductive. But there’s a lot less area for heat to conduct through with screws. And then there are two kinds of screws: galvanized steel and stainless steel. It turns out that stainless steel is great for structural use, especially where corrosion can be a problem. And they’re also great at reducing the thermal penalty because they’re not nearly as conductive as galvanized steel. Of course, the penalty with stainless steel is that it’s more expensive. The chart below is from the RDH paper. As you can see, galvanized steel vertical z-girts—like the ones I saw yesterday—are the worst. The two best, at greater than 90 percent thermal efficiency, are stainless steel screws and fiberglass clips with no screws. Everything else falls somewhere in between. The takeaway here is that exterior insulation by itself isn’t going to be a game changer. You’ve got to pay close attention to the attachment system. Also, the building codes now give a lot of information about fastening schedules and other details you need to know. Durham – Chapel Hill – Raleigh – Cary – Apex – Hillsborough – Holly Springs – Wake
BuildRite LLC – Experts in High-Performance Building EnvelopesUnderstanding Thermal Bridging in Framed Walls
The Power of Continuous Exterior Insulation
Why It Matters
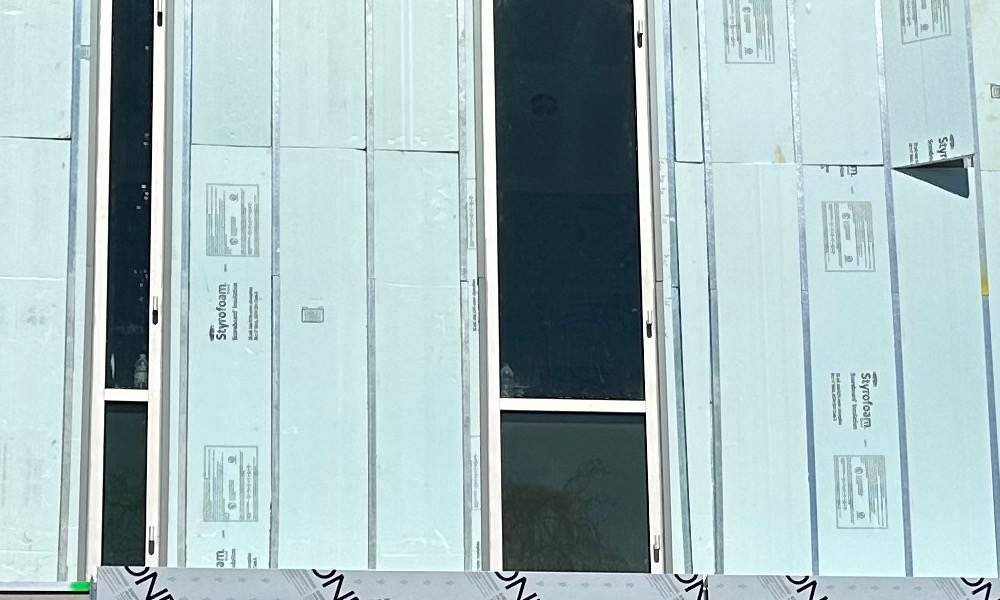
Vertical z-girts
![Vertical z girt attachment system for exterior insulation before insulation is installed [Photo from RDH Building Science report]](https://www.energyvanguard.com/wp-content/uploads/2023/03/exterior-insulation-vertical-z-girt-attachment-rdh.jpg)
![Diagram of a verical z girt [Chart from RDH Building Science report; link below]](https://www.energyvanguard.com/wp-content/uploads/2023/03/vertical-z-girt-exterior-insulation-attachment-diagram-rdh.png)
Clip-and-rail attachment
![Clip-and-rail attachment system for exterior insulation before insulation is installed [Photo from RDH Building Science report; link below]](https://www.energyvanguard.com/wp-content/uploads/2023/03/exterior-insulation-clip-and-rail-attachment-rdh.jpg)
Long screws
![Attaching exterior insulation with long screws [Photo from RDH Building Science report; link below]](https://www.energyvanguard.com/wp-content/uploads/2023/03/exterior-insulation-long-screws-attachment-rdh.jpg)
The thermal performance of various attachment systems
![Thermal effectiveness of different attachment systems for exterior insulation [Chart from RDH Building Science report; link below]](https://www.energyvanguard.com/wp-content/uploads/2023/03/exterior-insulation-attachment-systems-thermal-effectiveness-rdh.png)
Request A Free Consultation
Why BUILDRITE LLC?
Let Our Clients Tell You
Browse Our Completed Projects
Proudly Serving
The Triangle
Forest – Pittsboro